How to Season Cast Iron: Ultimate Guide for Perfect Non-Stick Cookware
- Benefits Of Seasoning Cast Iron
- Choosing The Right Cast Iron Pan
- Preparing Your Cast Iron
- Selecting The Best Oil
- Seasoning Process Step-by-step
- Common Mistakes To Avoid
- Maintaining Seasoned Cast Iron
- Troubleshooting Seasoning Issues
- Advanced Seasoning Techniques
- Frequently Asked Questions of How to Season Cast Iron: Ultimate Guide for Perfect Non-Stick Cookware
- Conclusion
If you love cooking with cast iron, you know how important it is to keep your pan in top shape. But do you really know how to season cast iron the right way?
Proper seasoning not only protects your pan from rust but also creates a natural, non-stick surface that makes cooking easier and food taste better.
You’ll discover simple steps to season your cast iron like a pro, ensuring it lasts for years and gives you the best cooking experience every time.
Ready to unlock the full potential of your cast iron? Let’s dive in.
Benefits Of Seasoning Cast Iron
Seasoning cast iron is key to getting the best from your cookware. It creates a protective layer that improves cooking and care.
The benefits of seasoning go beyond just making your pan look good. It helps with cooking, cleaning, and keeping your pan safe from damage.
Enhanced Non-stick Surface
Seasoning builds a smooth, slick coating on the pan’s surface. This layer stops food from sticking during cooking.
It makes flipping pancakes or eggs much easier. Over time, the non-stick surface gets better with regular use. No need for extra oils or sprays to keep food from sticking.
Rust Prevention
Cast iron can rust if exposed to moisture. Seasoning forms a shield that blocks water and air.
This layer protects the metal underneath from rusting. Proper seasoning helps your pan last for many years. It keeps the cast iron strong and ready for use every time.
Improved Flavor
Seasoned cast iron adds a unique touch to your food. It creates a natural barrier that helps build flavor over time.
Cooking in a well-seasoned pan can enhance the taste of dishes. The more you cook, the richer the flavor becomes. This makes your meals taste better without extra effort. Why Menopause Causes Weight Gain
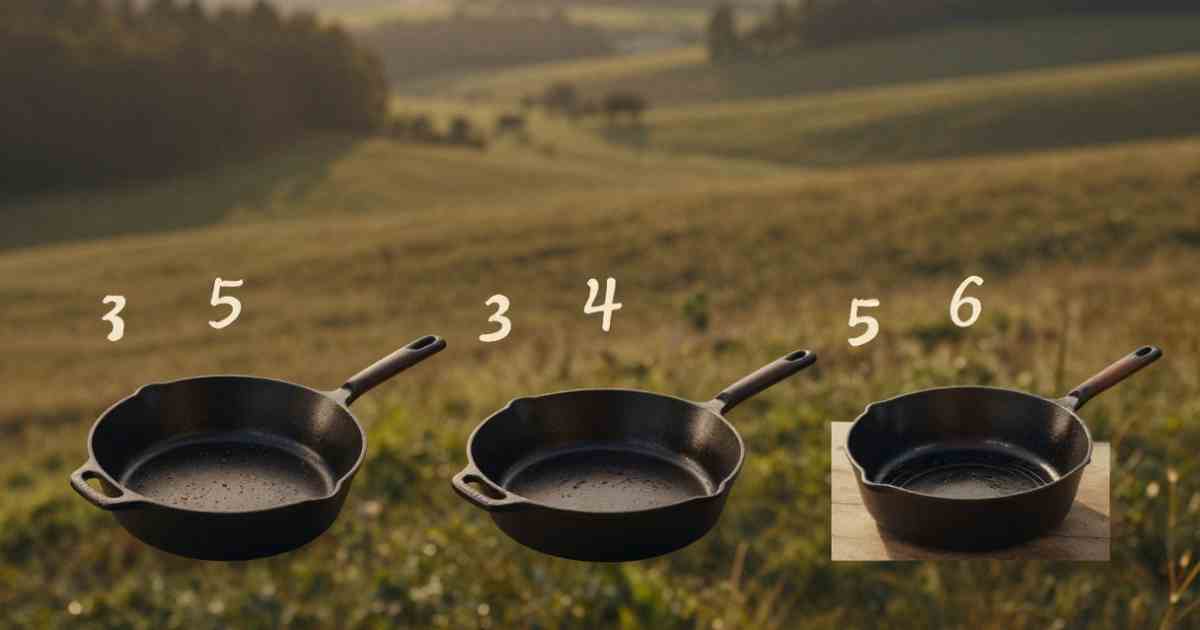
Choosing The Right Cast Iron Pan
Choosing the right cast iron pan is key to good cooking and easy seasoning. The type of pan affects how well it holds heat and how easy it is to care for.
Knowing the difference between new and used pans helps you pick the best one for your kitchen. How Nutrition Can Ease Menopause Symptoms
Also, deciding on pre-seasoned options can save time and effort.
New Vs. Used Pans
New cast iron pans come straight from the factory. They need seasoning to build a non-stick surface.
Seasoning a new pan takes time but offers control over the process. Used pans may have some seasoning left.
They can be cheaper and ready to cook with. Yet, some used pans need cleaning or re-seasoning first. Check for rust or damage before buying a used pan.
Pre-seasoned Options
Many new cast iron pans come pre-seasoned. This means the factory applied an initial layer of oil and baked it on. How Womens Nutrition Needs Differ From Men
Pre-seasoned pans save time and are easier to use right away. You still need to add more seasoning over time for best results.
Pre-seasoned pans work well for beginners and busy cooks. They offer a good balance of convenience and quality.
Preparing Your Cast Iron
Before seasoning your cast iron, proper preparation is key. This step ensures the oil bonds well to the surface. It helps create a smooth, non-stick layer that lasts long.
Clean the pan thoroughly and remove any rust or old residue first. This gives you a fresh, even base for seasoning. Taking time here saves effort later and improves cooking results.
Cleaning Before Seasoning
Start by washing your cast iron with warm water and mild soap. Use a sponge or brush to scrub away dirt and food bits. Why Preventive Nutrition Matters For Women
Avoid harsh detergents or metal scrubbers that can damage the surface. Rinse well and dry completely with a towel.
Water left on the pan can cause rust. A clean, dry pan is ready for the next step.
Removing Rust And Residue
Rust ruins the seasoning process and must be removed. Use steel wool or a scrub pad to gently scrub rusty spots.
For heavy rust, soak the pan in a vinegar and water mix for 1 hour. Rinse and scrub again after soaking.
Dry the pan fully and check for any remaining residue. Clear surfaces allow oil to bond properly during seasoning.
Selecting The Best Oil
Selecting the right oil is a key step in seasoning cast iron. It affects how well the pan develops a non-stick surface.
The oil must withstand high heat and form a durable coating. Choosing the best oil ensures long-lasting seasoning and better cooking results.
Types Of Oils To Use
Vegetable oil is common for seasoning cast iron. It is affordable and easy to find. Canola oil works well too.
It has a neutral flavor and good heat tolerance. Flaxseed oil is popular for its strong, hard coating.
It is a bit more expensive. Peanut oil also works well. It has a high smoke point and adds a light flavor.
Avoid butter or olive oil. They burn quickly and create sticky layers.
Smoke Points And Their Importance
Smoke point means the temperature when oil starts to burn. Oils with high smoke points are best for seasoning.
They create a tough, smooth layer on the cast iron. Low smoke point oils break down and leave a sticky residue.
This ruins the seasoning and makes cleaning harder. Use oils with smoke points above 400°F for best results.
Seasoning Process Step-by-step
Seasoning cast iron is key to keeping your pan non-stick and rust-free. The process builds a strong, protective layer on the surface.
This layer improves cooking and extends the life of your cast iron. Follow these simple steps to season your pan properly.
Applying Oil Evenly
Start with a clean, dry pan. Use a cloth or paper towel to apply a thin layer of oil. Cover every part, including the inside, outside, and handle.
Too much oil can cause sticky spots. Wipe off excess oil until the pan looks almost dry.
Heating Techniques
Preheat your oven to 450°F (230°C). Place the pan upside down on the middle rack. Put a foil sheet on the lower rack to catch drips.
Heat the pan for one hour to bake the oil into the surface. Let it cool completely inside the oven.
Multiple Coats For Durability
Repeat the oil application and heating steps two or three times. Each layer adds strength to the seasoning.
More coats mean better protection and a smoother cooking surface. Regular seasoning keeps your cast iron in top shape for years.
Common Mistakes To Avoid
Seasoning cast iron is simple but has common mistakes that many make. These errors can ruin the pan’s surface or make the seasoning uneven.
Avoiding these mistakes helps your cast iron last longer and cook better. Learn what to watch out for below.
Using Too Much Oil
Applying too much oil creates a sticky, uneven layer on your pan. Excess oil won’t bake properly and stays soft.
This leads to a sticky surface that attracts dust and food bits. Use a thin, even coat of oil to build a smooth layer.
Skipping Cleaning Steps
Not cleaning the pan before seasoning can trap dirt and old food. This stops the oil from bonding well to the iron.
Always wash the pan with warm water and a brush. Dry it fully before applying oil to avoid rust and bumps.
Incorrect Heating Methods
Heating the pan too fast or at the wrong temperature ruins seasoning. High heat can burn the oil, making it sticky or uneven.
Too low heat won’t bake the oil properly. Use moderate heat and bake the pan in the oven for best results.
Maintaining Seasoned Cast Iron
Maintaining your seasoned cast iron keeps it non-stick and rust-free. Proper care helps the pan last for many years.
Small steps after each use protect the seasoning layer. This section explains how to clean, re-season, and store your cast iron.
Proper Cleaning After Use
Clean the pan while it is still warm. Use warm water and a soft brush or sponge. Avoid soap or harsh detergents.
They can remove the seasoning. For stuck food, scrub gently with coarse salt and water. Dry the pan thoroughly with a cloth or on low heat.
Re-seasoning Tips
Re-season the pan if food starts sticking or rust appears. Apply a thin layer of vegetable oil or flaxseed oil.
Use a paper towel to spread the oil evenly. Heat the pan upside down in the oven at 350°F (175°C) for one hour. Let it cool inside the oven. Repeat this process if needed.
Storing Your Pan
Store cast iron in a dry place. Avoid stacking other pans directly on top. Place a paper towel inside to absorb moisture.
This prevents rust and keeps the seasoning intact. Store it with the lid off to allow air circulation.
Troubleshooting Seasoning Issues
Seasoning cast iron can sometimes bring small problems. These issues can affect how your pan cooks and its lifespan. Knowing how to fix them keeps your cast iron in top shape. Here are common seasoning problems and simple ways to solve them.
Sticky Or Flaky Coating
A sticky or flaky surface means the oil layer did not bake properly. This happens when too much oil is applied or the pan is not heated enough.
Wipe off excess oil before heating the pan. Bake it at a high temperature for at least one hour. Let it cool inside the oven. Repeat if needed for a smooth, hard finish.
Uneven Seasoning
Uneven seasoning shows as dark and light spots on the surface. This means oil was not spread evenly or the pan was not heated evenly.
Use a cloth or paper towel to coat the pan thinly and evenly. Heat the pan on the middle rack of the oven for consistent heat. Rotate the pan halfway through baking for even coverage.
Rust Removal After Seasoning
Rust can form if moisture stays on the pan after use. Scrub rust with steel wool or a stiff brush until it is gone.
Wash the pan with warm water and dry it quickly. Reapply a thin layer of oil and bake it to restore the seasoning. Keep the pan dry and store it in a dry place to prevent rust.
Advanced Seasoning Techniques
Advanced seasoning techniques can improve your cast iron’s non-stick surface. These methods build stronger, longer-lasting layers of seasoning.
They also help protect the pan from rust. Using different oils and heat sources changes the way the seasoning bonds with the metal.
Try these tips to make your cast iron perform better and look great.
Oven Vs. Stove Top Seasoning
Oven seasoning heats the pan evenly. It allows oil to polymerize and form a hard coating. Preheat your oven to 450°F (230°C). Apply a thin coat of oil, then bake the pan upside down for one hour.
Let it cool inside the oven.
Stove top seasoning works faster but less evenly. Heat the pan on medium heat. Rub oil on the surface and keep heating until it smokes.
Turn off the heat and let the pan cool. Repeat several times for better results.
Using Flaxseed Oil
Flaxseed oil is a popular choice for seasoning cast iron. It dries quickly and forms a tough, smooth layer. Use a small amount, spread thinly on the pan. Bake in the oven at 450°F (230°C) for one hour. Repeat this 3 to 5 times for a strong coating.
This oil creates a hard, shiny surface that resists sticking and rust.
Seasoning With Bacon Fat
Bacon fat adds flavor and helps build seasoning layers. After cooking bacon, save the rendered fat. Use it to coat your cast iron pan thinly.
Heat the pan on low until the fat starts to smoke lightly. Let it cool naturally.
This method adds a natural, tasty seasoning. It also improves the pan’s non-stick quality over time.
Frequently Asked Questions of How to Season Cast Iron: Ultimate Guide for Perfect Non-Stick Cookware
How Often Should I Season My Cast Iron Skillet?
Season your cast iron skillet every few months. Frequent use may need more regular seasoning. This keeps the surface non-stick and rust-free.
What Oil Is Best For Seasoning Cast Iron?
Use oils with high smoke points like flaxseed, vegetable, or canola oil. These oils create a strong, durable coating. Avoid butter or olive oil as they can go rancid.
Can I Skip Seasoning If I Buy Pre-seasoned Cast Iron?
Pre-seasoned cast iron is ready to use but can benefit from extra seasoning. Adding your own layer improves non-stick quality and protects the pan. It’s a simple step for better cooking results.
How Long Does It Take To Season Cast Iron Properly?
Seasoning takes about one hour per layer, including heating and cooling time. Multiple layers build a stronger surface. Patience is key for a well-seasoned pan.
Conclusion
Seasoning cast iron keeps your pan non-stick and rust-free. It takes just a little time and care.
Regular seasoning improves your pan’s cooking performance. Use simple oil and heat to build layers. Avoid soap or scrubbing too hard after use.
Keep your cast iron dry and oiled after cleaning. Well-seasoned pans last for many years. Enjoy cooking with a reliable, easy-to-use cast iron skillet.
Your meals will taste better every time. Try seasoning today and see the difference yourself.


